Hello! Today I am sharing with you step by step video tutorial on how to make scrapbook layout. 
Watch the video for easy step by step instruction or read the description below.
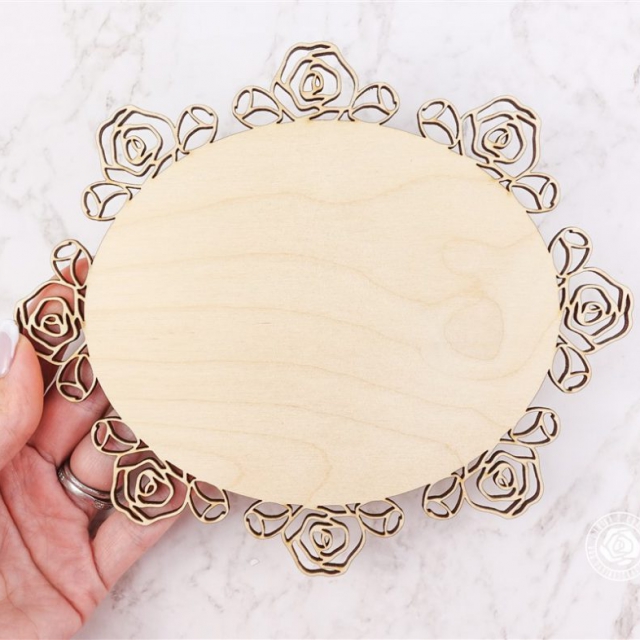
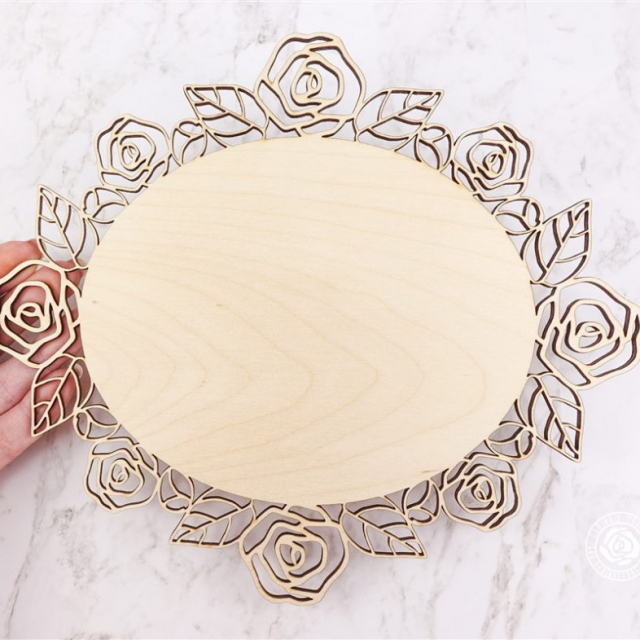
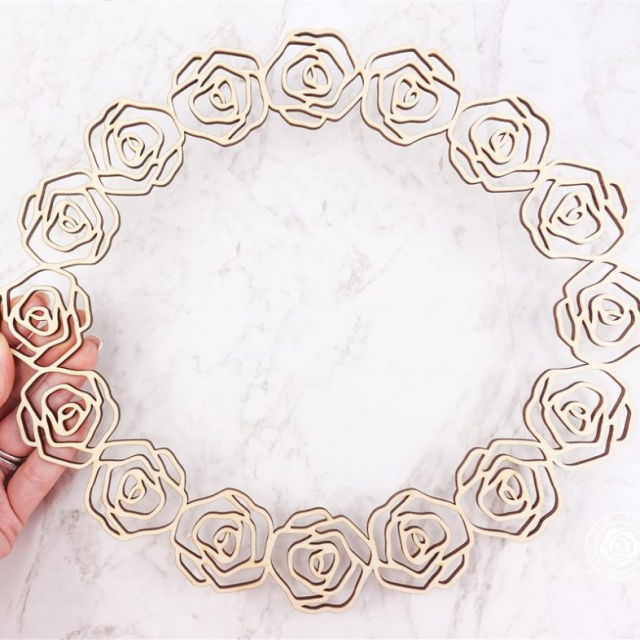
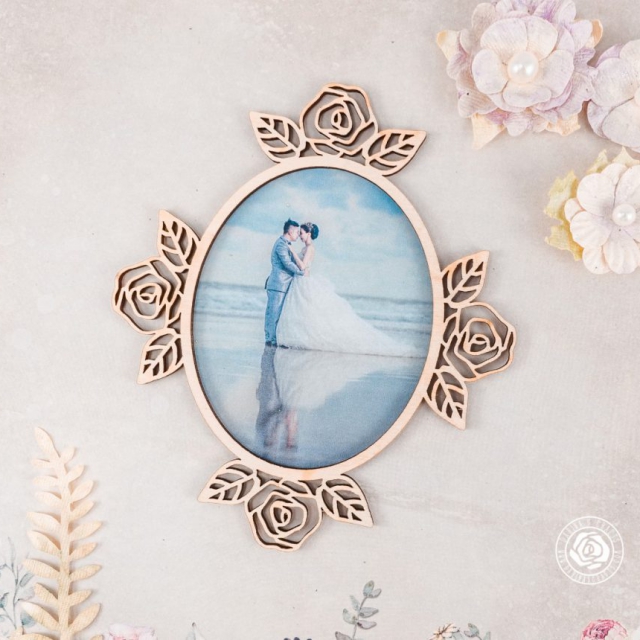
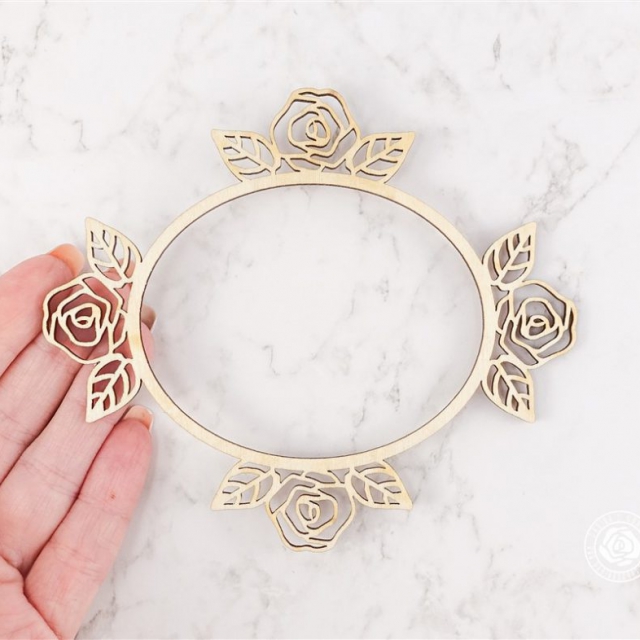
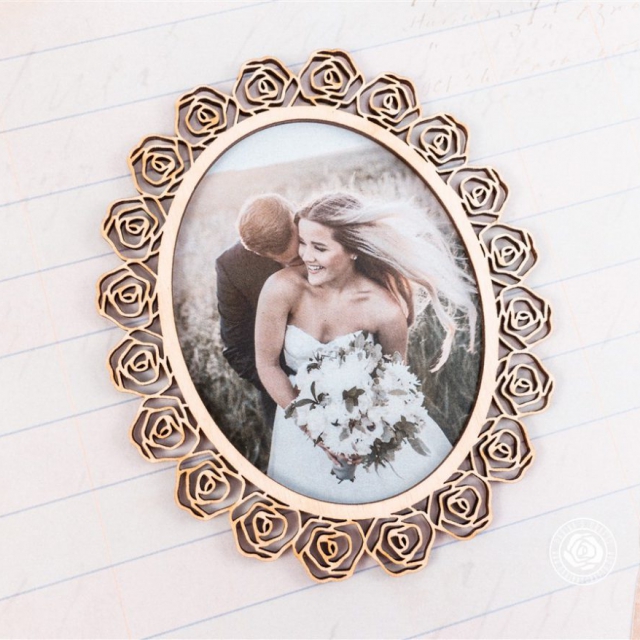
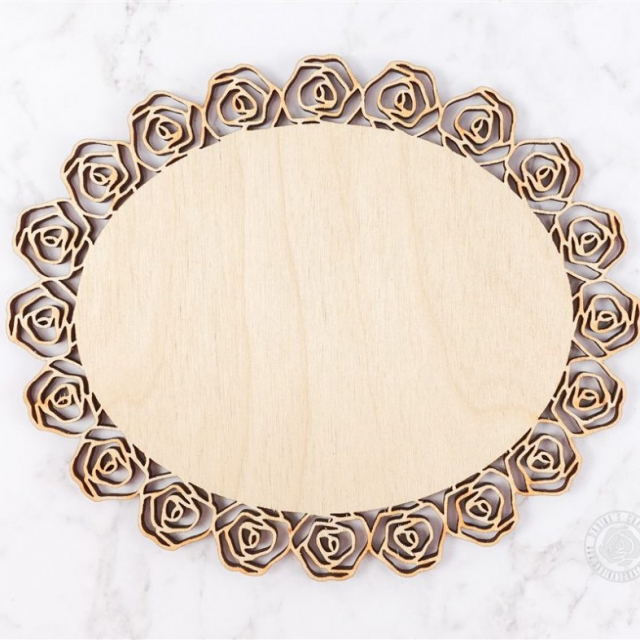
In this video, I used a set of 3 wood floral frames from the Vintage Roses collection.
List of the supplies:
- Floral frames
- Gorilla wood glue (affiliate link to Amazon)
- Sponge or brush
- Pencil
- Scissors
- Wood word cutouts
- Toothpick or a needle
First, I used a classic oval frame to draw an oval on the backside of a photo. Then I cut it with the scissors and set aside.
Before gluing the frames together I found a perfect shape match by rotating the frames.
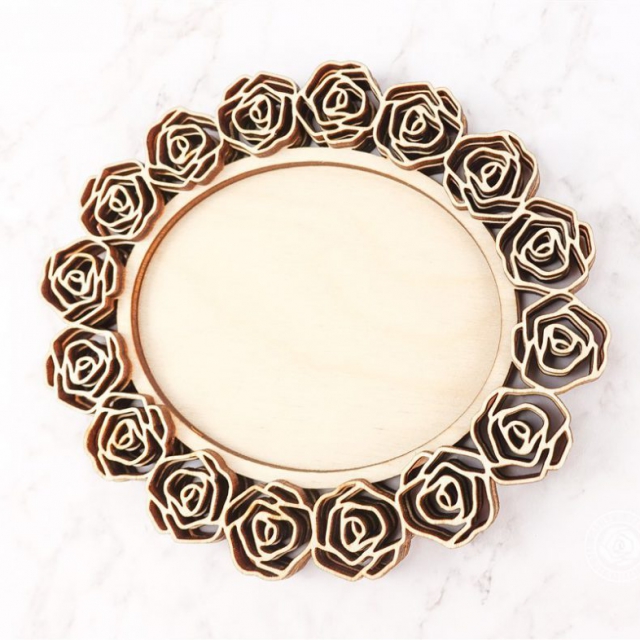
Then I applied the glue on the airy frame using a sponge. Then glued it to the classic frame.
At this point, you may use this 3D frame for your image. It is perfect for our purpose. Or, you may go ahead and finish the assembly of the frame.
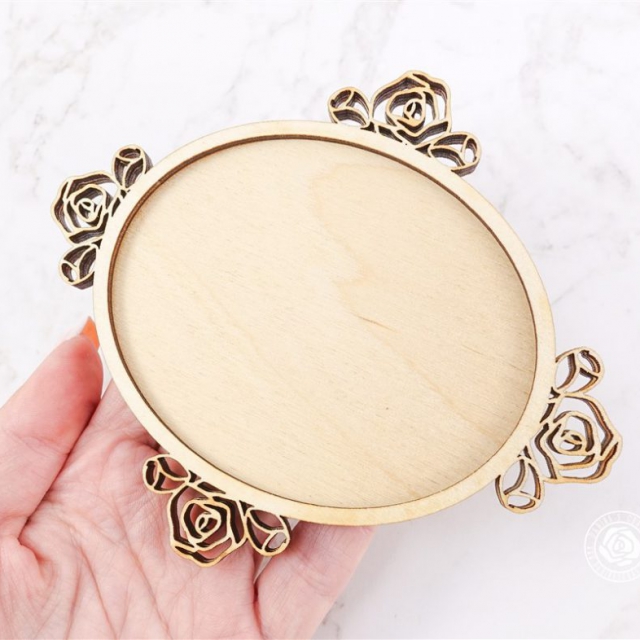
Next step is to adhere the photo to the backing layer of the frame.
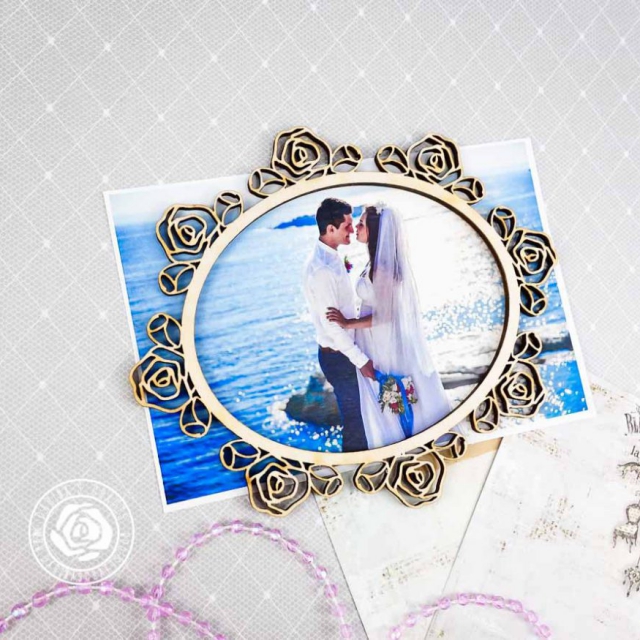
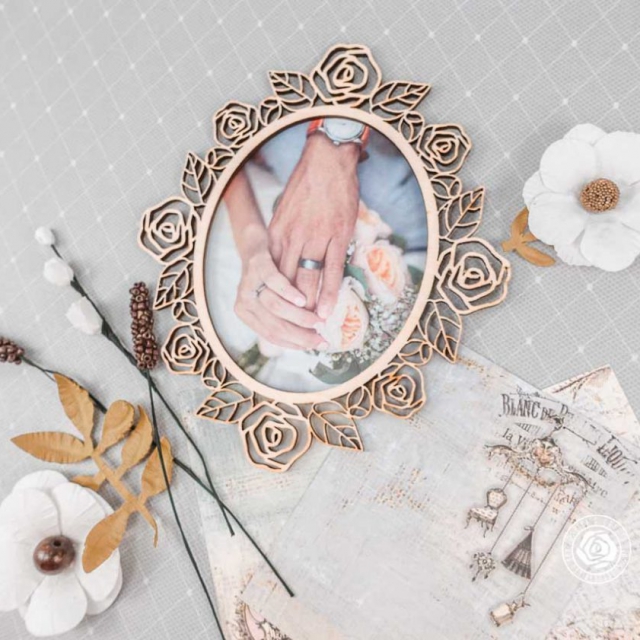
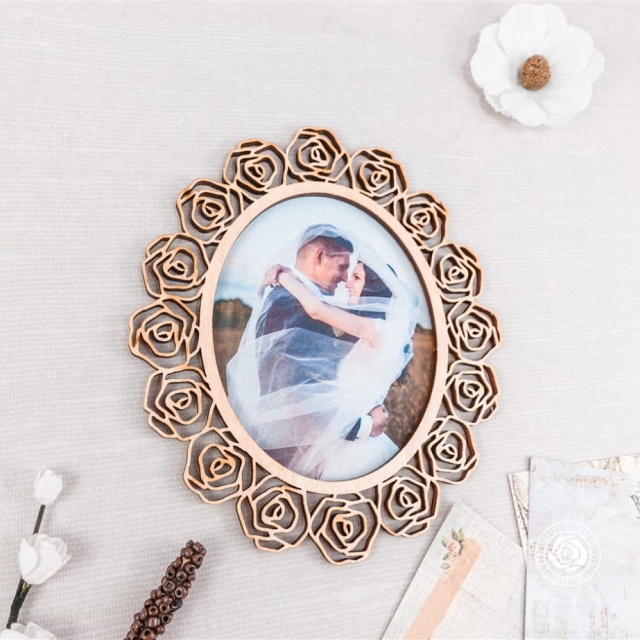
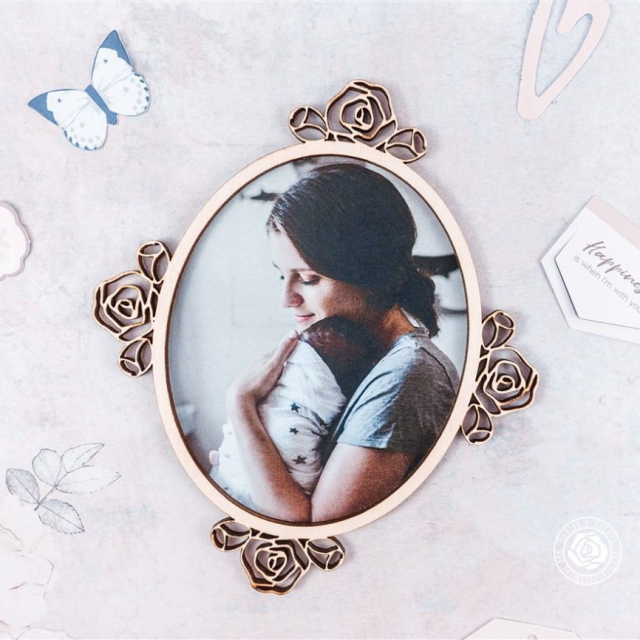
Then I applied glue to the two top layers and assembled the 3D frame with a photo inside.
This way you may use this set for display purposes.
The very last step is to add some embellishments. I used wood word cutouts.
Here you go! Simple. Beautiful. And easy way to make scrapbook layout.
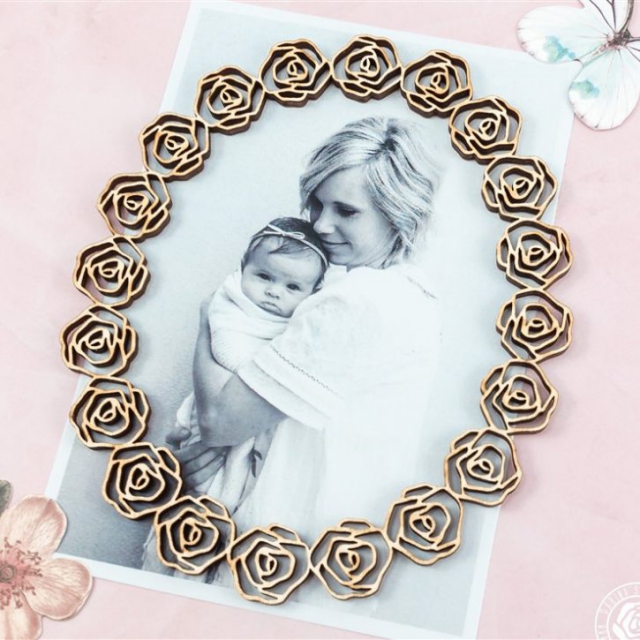
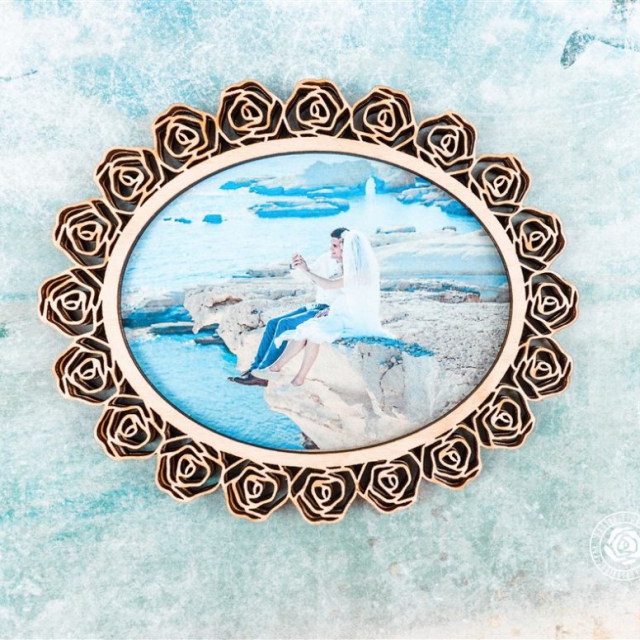
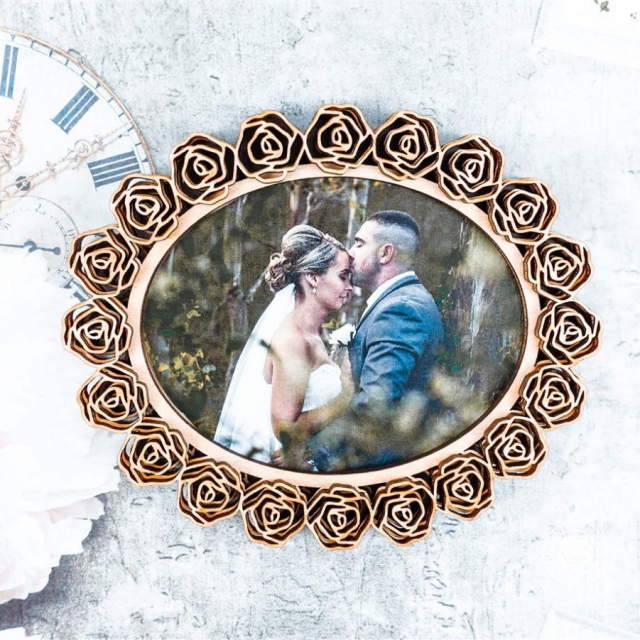
Here are more ideas for your inspiration!
Click here to shop the frames!
Happy crafting!
~ D.
Hits : 4518

